DevOps Engineer | Data Engineering Practitioner
I'm Tara Gurung, I do DevOps for my customers to bring change in their software engineering process. I am driven by a passion for automation, scalability, and seamless collaboration. My approach combines strategic intuition, thoughtful research, and a focus on efficiency to build resilient infrastructure and optimize workflows. I have a deep appreciation for cutting-edge technologies, robust software design, and the transformative power of DevOps culture. Connect with me on Linkedin.
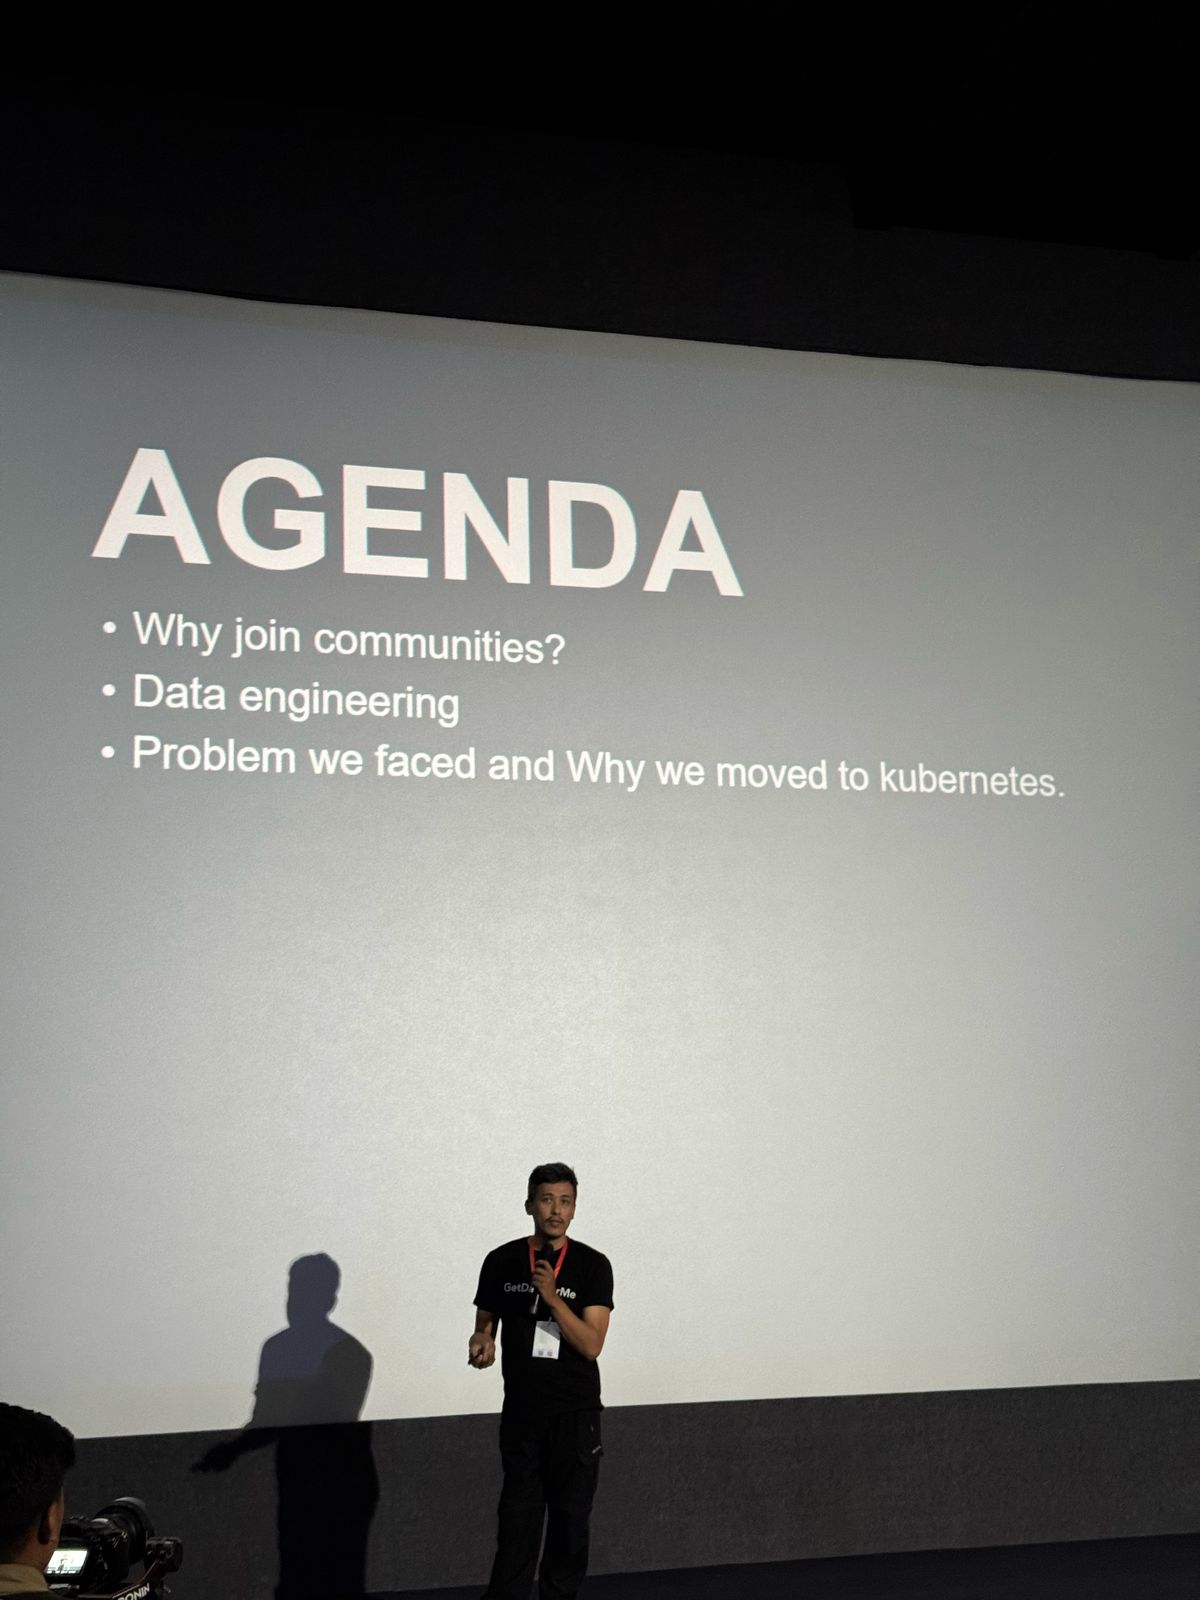
Community Talks